I have no idea what his response was, but I remember being sceptical, and it was probably only the promise to go fishing afterwards that finally convinced me to join him. I remember it was a very windy day, the coach was an experienced angler and had me working on getting rid of the tailing loops that annoyingly and reliably appeared every time I strived for distance. I still remember his sage advice (and his Sage advice), “try not to grip and rip, try to feel the cast”. When I asked him how , he suggested I try a rod with a more forgiving action. I tried his Sage SLT 5 weight, I loved it. It did help, but I still didn’t understand how to develop feel. Also, whilst I am certain this was not his intention, I took this to mean a new rod would make me cast better. It didn’t. (Good rod though, glad I bought it, glad I still have it !). Sadly (for me), I didn’t pursue any more lessons with him or anyone else, and forgot about it for a while, enjoying myself nonetheless.
Why I finally took lessons
Five years on, and I was living in London, trying to learn Italian, and on advice from my language teacher, I took to reading websites in Italian, on something that interested me (fly fishing unsurprisingly). In this way, one spring day, whilst on vacation, I found myself fishing on one of the rivers in Umbria in central Italy with some guys from the SIM Italian fishing association. The river was fast and clear, and I had some great success fishing weighted nymphs. One of my hosts suggested I try casting a dry near the far bank, where he claimed there were some big ones hiding under the overhanging shrubs. I probably put at least 50 or more casts over there, landing the dry in the current seam, only to have it whipped away by the current. At this point I declared, that :
- Clearly there were no fish there, and
- Even if they were there it was impossible to fish the spot, the drag was horrendous.
My host, didn’t seem fazed and made a leisurely cast across the current, his fly landed, and sat… and sat…. for at least a count of 3, before a sizeable hole opened up beneath it. A relaxed lift of the rod, and the hook was set into the biggest fish I’d seen all day. He did it twice more to prove it wasn’t a fluke. He presented that dry-fly with studied precision, and injected just enough slack in the leader to let it hang enticingly in the still water. I begged him to tell me how he did it. Easy , he said, come to a course, and you can learn. Here was an art, and an art worth my learning (sorry for misquoting Mr Walton). I now had an answer to that question of a few years before. Why take some lessons: to learn some skills to catch fish, good fish, that I otherwise couldn’t !
It was through the Italian SIM association I learned there was a whole lot more to fly-casting and fly fishing than laying a line out straight and accurately. Their approach to fly-casting is all about casts that catch fish, controlling the line, leader and fly to present the fly, in and around and under obstacles, combatting swirling currents to maximise the natural drift. Over the next few years I attended 6 or so courses, improving bit by bit, discovering the joy of playing around with rod and line. Even more so on the river, where there is a lot of satisfaction to be had making a difficult cast, even better if a fish cooperates. Another answer to my question : Have more fun!
How to Practise
None of this came without practising between the courses. Not just any practice either, what is needed is focused practice. For example, when I was on a golfing crusade to earn a single figure handicap. I used to hit a bucket of balls at the driving range twice a week thinking this would really help, until a conversation with my golf-pro. He asked me how I practised, “I take my driver twice a week at the range” I said. “Hmm” he replied, “you drive quite well, but what about the rest of your game? Chips, putts ? fades ? draws ? High shots low shots ? Practise the shots you use most on the course. Spend half your time on your short game, half the rest on the short irons, and then rest on long irons and woods.” Good advice , practice the skills you need!


I advocate applying this approach to fly-casting. In the off-season I practise at least once a week for an hour or two at a time. I make a rough plan for each session , I go with the intention of working on a four or five skills in particular. I break up my practice time and spend no more than 10 – 15 minutes on each skill.
Don’t be afraid to take a few lessons. If you are in Melbourne we have casting lessons available. Click here.
Try it for yourself: you may catch more fish and may have more fun doing so!
Practise Drills for Fly Casting:
Loops and line control:
- Loop control : Try making false casts with consistent smooth loops. 3 or 4 casts then rest. Try doing this at different distances.
- Loop size: Practice casting tight loops, medium-sized loops, wide loops.
- Rod plane: try casting on various rod planes. from vertical, to horizontal and angles between. Concentrate on timing and making clean smooth loops.
- Double hauling.
Presentation Casts:
If you have learned how to do these, practice and perfect them, if not consider hitting me up for a lesson or three:
- Curved casts
- Wiggle casts
- Bucket Casts
- Aerial Mends
Accuracy:
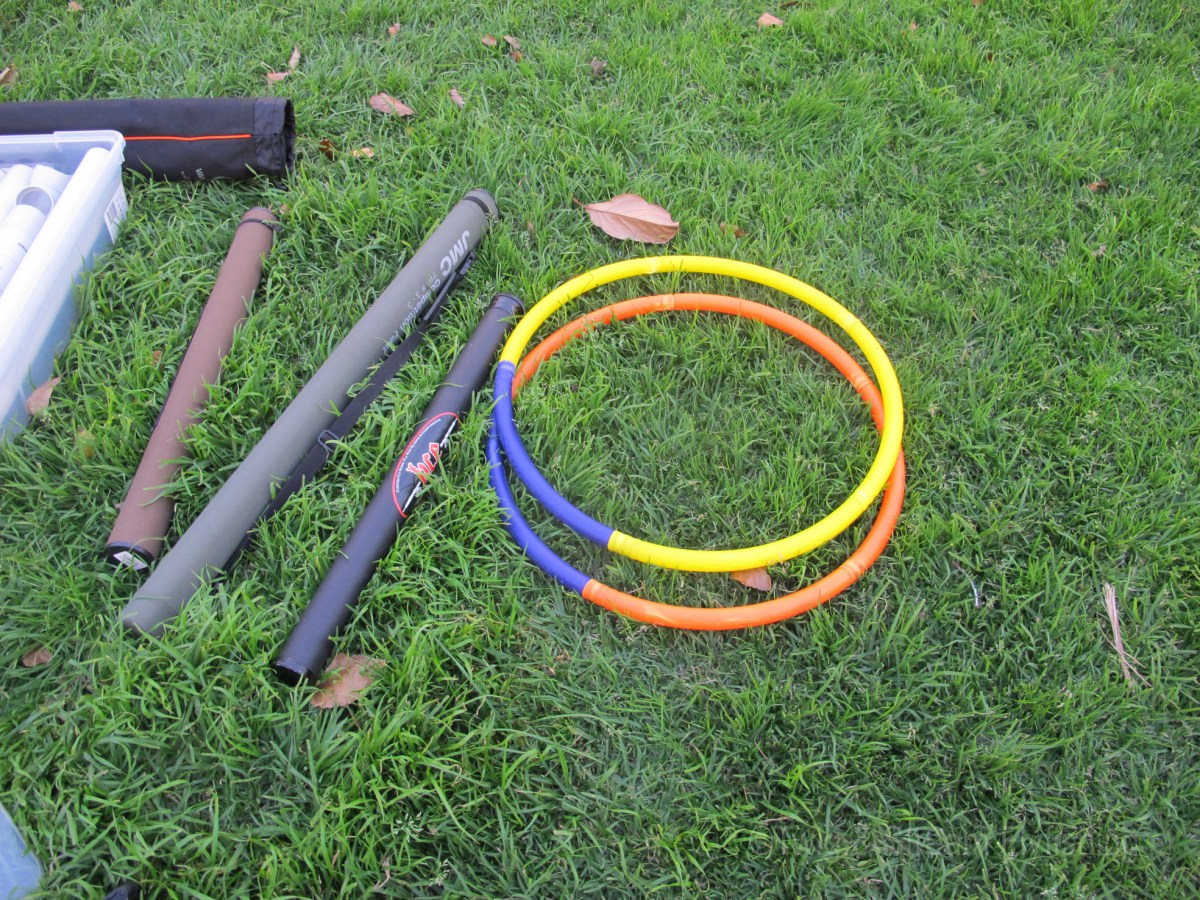
- Simple accuracy I take a few hoops or targets with me, and set them up at various typical fishing distances, and practice a few casts at each , then try the next one, trying always to judge the distance by eye. I move around so the distance is never the same. On the river you don’t know the distance in advance!
- Altering the plane: e.g. Side casting to a target, simulating casting low under overhanging foliage , yet still hitting the target.
- Presentation cast accuracy (curve, bucket, wiggle) : Using a hoop, I imagine that I need to make a presentation cast to some slack water, the loop is the target.
- Reverse cast (over your other shoulder)
- Other hand if you know how
On Water:
If you have suitable water nearby, try practising:
- Roll casts (and single-handed spey techniques )
- Mending
- Different presentations ( fly first, gentle)
- Different retrieve patterns (etc.)