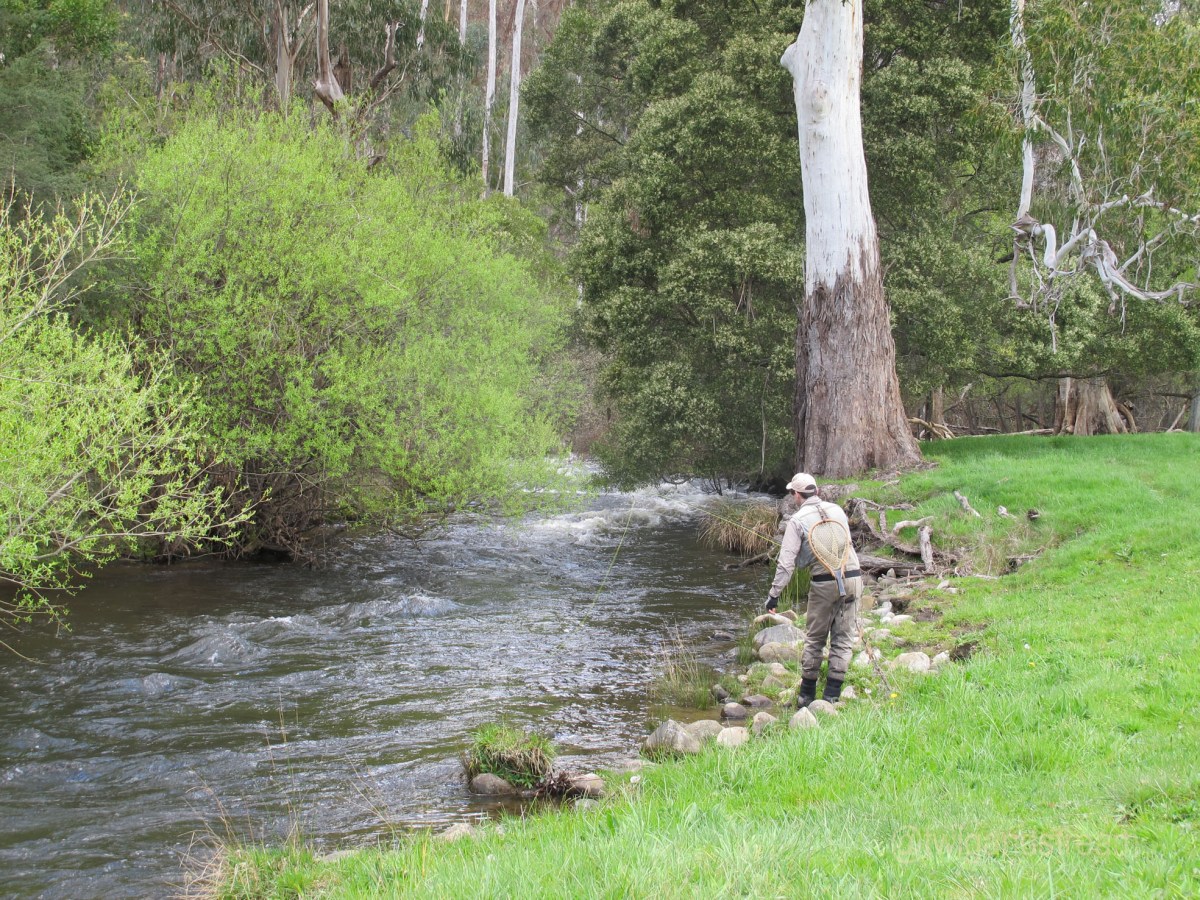
Early season and the snow melt has my favourite mountain streams running hard and clear. It is still too cool for insects, and the trout aren’t really looking up for a feed. They are lying deep, or hard against the undercut banks, keeping out of the heavy currents, but close enough to snack on all of the sub-aquatic nymphs caught in the heavy spring flows.
The fly fisher who persists with a dry-fly on these waters will eventually catch the odd trout, however the main game at this time of the year is the weighted nymph. I prefer to keep things simple, and opt for a well weighted nymph below an indicator.
Recently whilst fishing with another angler, I was reminded how quick and easy the system I favour is to set-up and adjust while fishing. They were faffing about with a gadget, tiny pieces of tube, bits of fluff and floatant for about ten minutes. In the same time, I rigged my rod, added the indicator, made a few casts and caught the first fish!

How does it work?
Since I tie my own tapered leaders, I have handy knots spaced at 3, 4, 5, and 6 feet in depth. These act as handy stoppers for my indicators. This gives me plenty of choices for depth.


I use pre-treated bright yarn as my indicator, with a sliding loop to loop connection. This yarn comes pre-treated, and is highly water-resistant. The photos below show how to attach them. And how to move them.


One piece of yarn will easily support brass or small tungsten bead head nymphs, and two pieces will hold up the larger tungsten bead heads. If you want to step it up, and use double heavy nymphs, you can use the same approach with big Tongariro style indicators.
Try for yourself
If you are sick of messing about with gadgets and floatant, and want to spend more time time fishing, try it for yourself!
If you can’t be bothered making your own, or you aren’t confident in your knots, I have pre-tied nymph leaders, including 3 pieces of pre-treated yarn for sale in the store under leaders.
