How to add a new tip guide
Breaking a rod tip, can be upsetting, heartbreaking if it is a favourite rod, and if your rod doesn’t have a lifetime warranty, what can you do ? The good news is, with a tape measure, some epoxy, a craft knife and $10, you can fix it yourself.
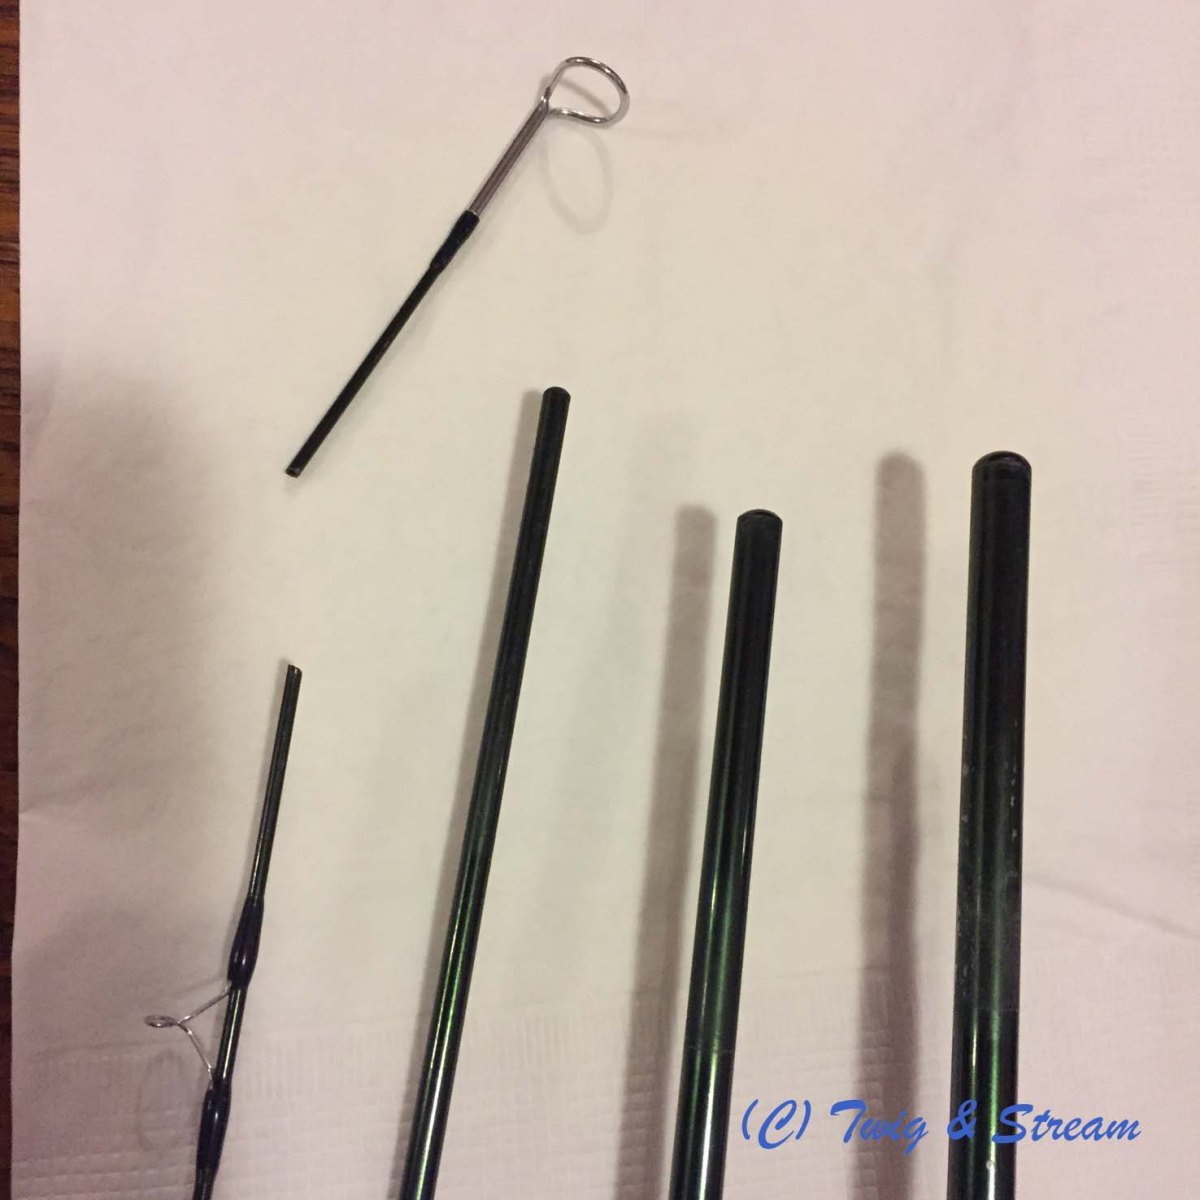
Buy the right size tip top
Firstly work out the size of tip loop to buy or order. If you have access to a rod building supplier, take the broken parts along so you can match the size and purchase the one you need. The loop size should match, and it should fit snugly on the broken part of the rod.
If you have to order online then you will need to measure the old tip loop and the diameter of the rod blank. Tip loops come in different sizes so you need to work out the right one. There are two important measurements: the size of the loop and the diameter of the “sleeve” that fits over the blank. Measure the loop size with a tape measure. It is best to measure the diameter of the end of the blank at the tip and one cm from the tip. You can do this with a micrometer. But if you don’t have one you can use the tape measure and your phone camera.
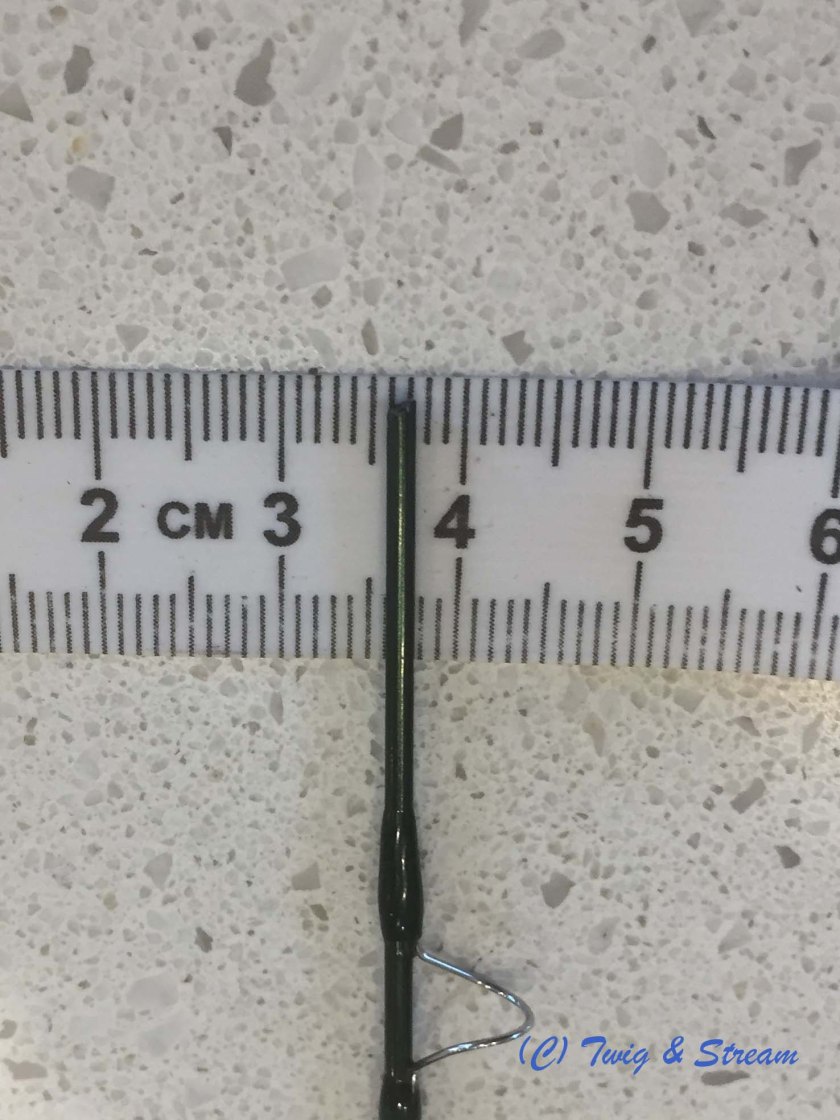
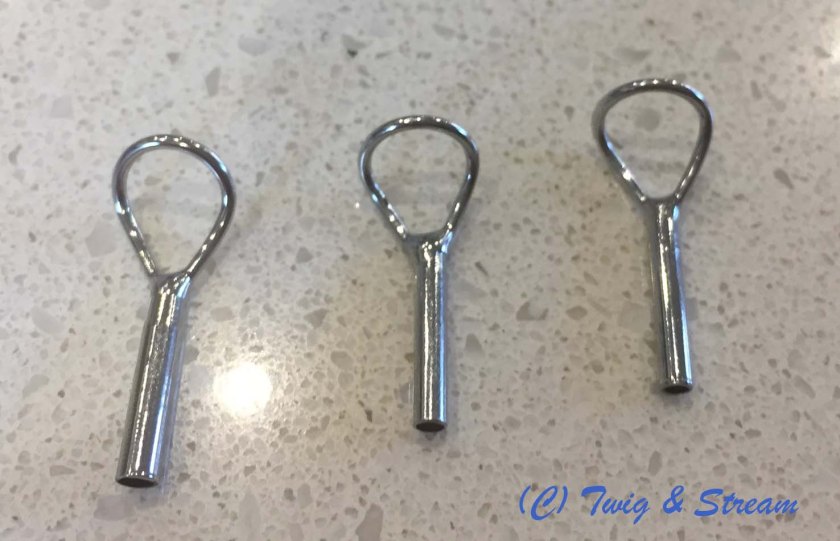
Put the tip on a tape measure, take a photo and zoom in. You can see mine is about 1.4 to 1.8 mm. To be sure I ordered 3 different sizes from the local rod building supplier. It cost me about 25$, but one was perfect.
Remove the obsolete rod guide
Now If i just fitted the tip it would have been too close to the next rod ring and the guide spacing would have been cramped, and the rod would not cast well .So I needed to remove it. Taking a sharp craft knife I started gently shaving the epoxy from the bindings on top of the guide feet. Go easy as you need to protect the blank underneath. Gently scarping will remove the epoxy bit by bit , and the thread binding on the metal foot. The guide will come away easily leaving the old bindings.


Remove the remaining binding and epoxy.
The next part is quite delicate as you need to try to remove the rest of the binding and epoxy so it wont impinge on the line when you cast. Again gently scraping the epoxy will reveal the thread underneath, and eventually you will be able to peel it off. The key is to work small scrapes as small as possible and avoid having the edge of the blade touch the blank underneath.
Once you have removed as much as you can, all that is left to do is glue the new tip guide in place. Mix up some epoxy and apply a little to rod tip and slide the guide on. You can wipe off excess epoxy with a cloth and white spirit.

Line up the tip guide with the others and then leave it to dry making sure the guide doesn’t slip out of alignment.
And Voila you now have a rod that is slightly shorter than before. I have done 3 of these too date. I am no rod maker, so my repair is not show room perfect, but it is functional. It has a slightly different action, but works a treat!


So be careful, try not to break the rod tip, but if you do, you can now try to fix it.

Really great post. This answered the majority of my questions. When I read this I actually opened up a word document and started taking notes haha.
LikeLike